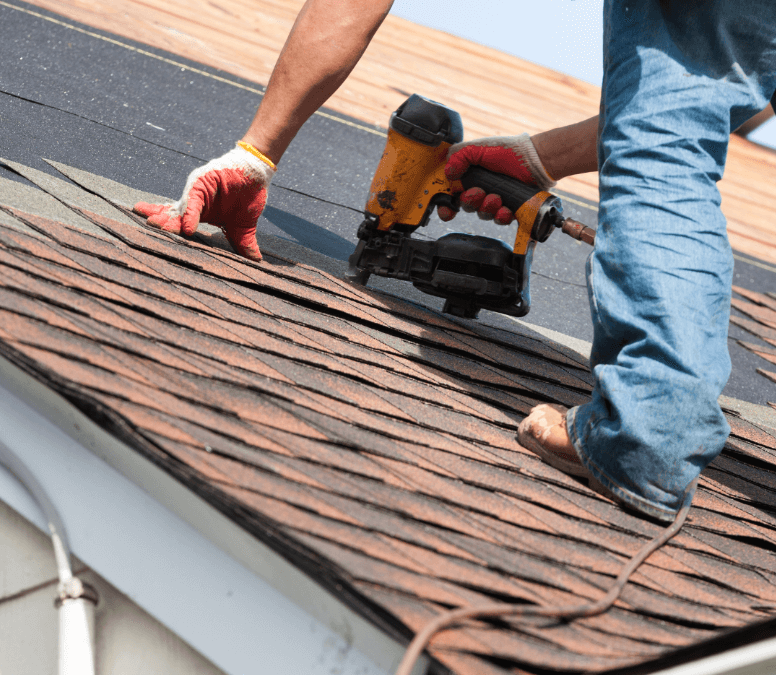
Natural disasters like hurricanes, tornadoes, and severe storms can cause a lot of damage to your home, especially your roof. It’s important to check for any roof damage after a natural disaster to ensure your home is safe.
This guide will show you how to assess roof damage after a natural disaster and the steps you can take to fix it.
Why Is It Important to Assess Roof Damage After a Natural Disaster?
Natural disasters can cause severe damage to your roof, including missing shingles, leaks, and even structural damage. It’s crucial to assess any potential damage to your roof after a natural disaster for several reasons.
Safety Concerns
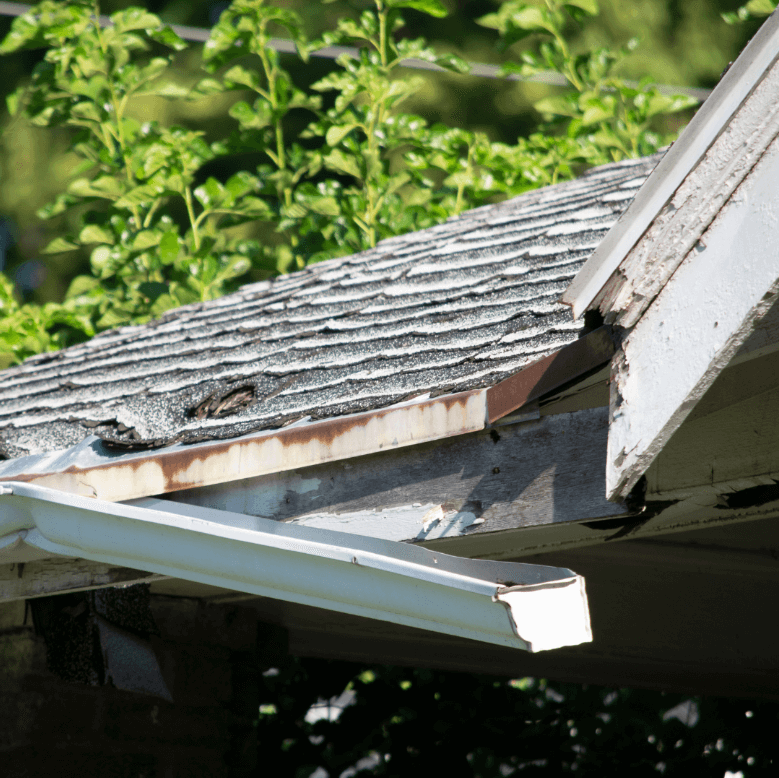
The safety of you and your family should be the top priority after a natural disaster. A damaged roof can pose a significant safety risk, especially if there are missing shingles or structural damage. Assessing the damage and taking necessary precautions can help prevent any accidents or injuries.
Prevent Further Damage
If your roof is damaged, get it fixed as soon as possible to prevent more damage. A damaged roof can cause leaks, leading to water damage inside your home and even affect its structure. You can stop any further damage to your home by assessing the damage and making repairs.
Insurance Purposes
Checking for roof damage after a natural disaster is also important for insurance purposes. Most homeowners’ insurance policies cover damage caused by natural disasters, but you need to provide evidence of the damage to make a claim. By assessing the damage and documenting it, you can make sure you get the right compensation from your insurance company.
How to Assess Roof Damage After a Natural Disaster
Checking for roof damage after a natural disaster might feel overwhelming, but these steps can help you find how much damage there is and what repairs are needed.
Step 1: Inspect the Exterior of Your Roof
Start by inspecting the outside of your roof. Walk around your home and look for any visible signs of damage. Some things to look for include:
- Missing or damaged shingles
- Dents or cracks in the roof
- Debris or tree branches on the roof
- Damage to the chimney or vents
- Areas of the roof that are sagging or uneven
Step 2: Check for Leaks
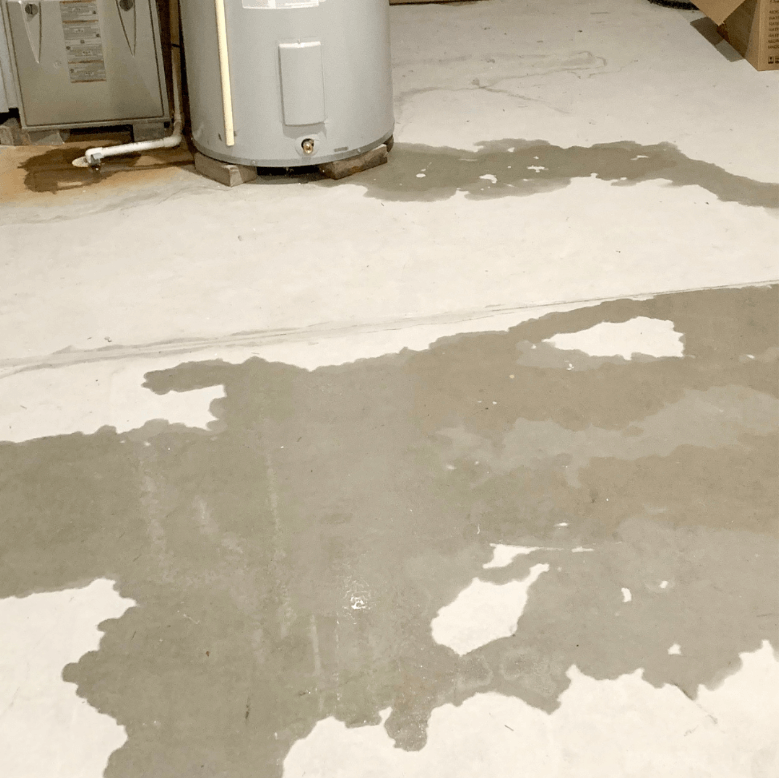
After checking the outside of your roof, you should check for any leaks inside your home. Look for water stains on the ceiling or walls, and pay attention to any damp or musty smells. If you notice any of these signs, your roof most likely has a leak.
Step 3: Assess the Attic
Next, check your attic for any signs of damage. Look for water stains or damp areas on the ceiling or walls. Also, check if any light is coming through the roof, as this could mean there is a hole or missing shingles.
Step 4: Hire a Roofing Expert
If you are unsure about the extent of the damage or don’t feel comfortable assessing your roof yourself, it’s best to hire a roofing expert.
Call us at Blue Hammer Roofing and schedule a free roof inspection. Our team has the knowledge and experience to thoroughly assess your roof and provide an accurate evaluation of the damage.
Steps to Repair Roof Damage After a Natural Disaster
Once you’ve assessed the damage to your roof, take the following steps to repair it.
Step 1: Document the Damage
Before you start, make sure to document the damage to your roof. Take photos and videos of the damage, as well as any debris or tree branches that may have caused it. This documentation will be important to have when you file an insurance claim.
Step 2: Make Temporary Repairs
If your roof has suffered significant damage, make temporary repairs to prevent further damage. This could include covering holes or damaged areas with a tarp or using roofing cement to seal leaks.
Step 3: Hire a Professional Roofing Contractor
For more extensive damage, hire a professional roofing contractor to make the necessary repairs. Contact us here at Blue Hammer Roofing. We have the expertise and equipment to safely and effectively repair your roof.
Step 4: File an Insurance Claim
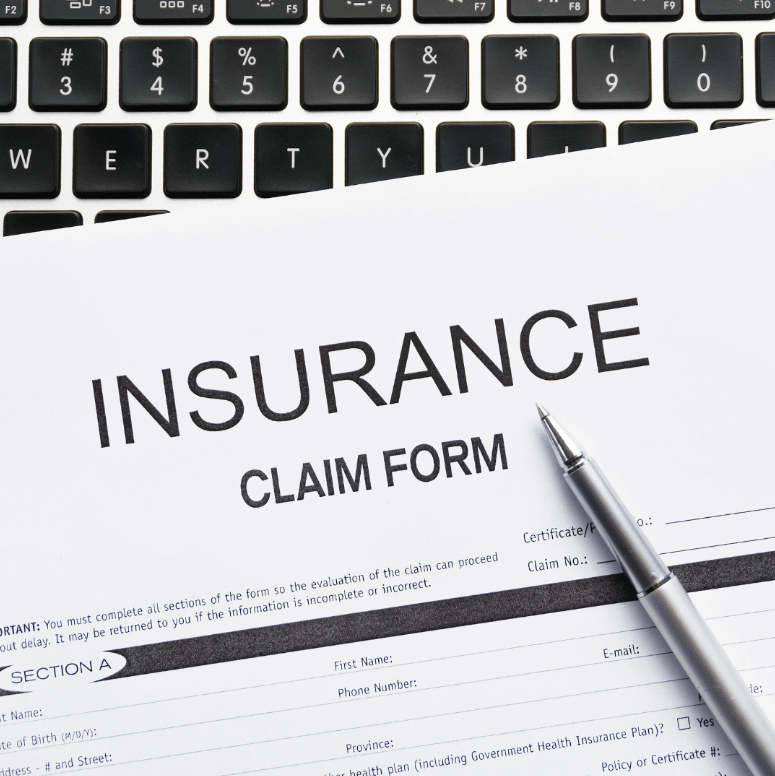
After making temporary repairs and hiring a roofing contractor, it’s essential to file an insurance claim. Provide your insurance company with the documentation of the damage and the estimate from the roofing contractor. They will then determine the coverage and compensation for the repairs.
Preventing Roof Damage in the Future
While it’s impossible to prevent all roof damage, there are steps you can take to minimize the risk of damage during a natural disaster.
Regular Roof Maintenance
Regular roof maintenance, like cleaning gutters and inspecting for any damage, can help prevent damage during a natural disaster. It’s recommended to have your roof inspected at least once a year.
Reinforce Your Roof
Living in an area like Dallas Fort Worth Texas, we are prone to natural disasters, so it’s worth investing in reinforcements for your roof. This could include installing hurricane straps or using impact-resistant materials.
Trim Trees and Remove Debris
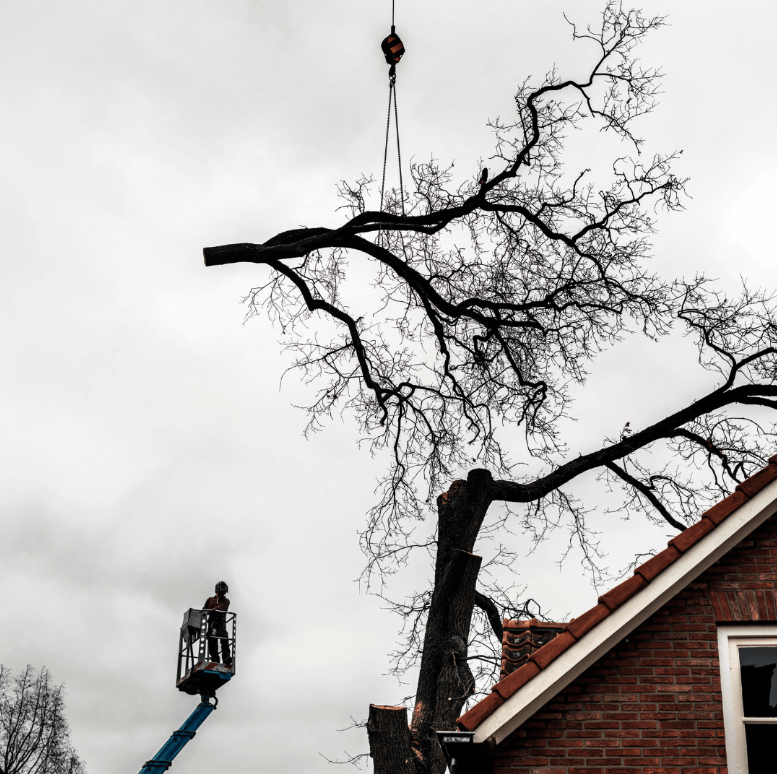
Trees and debris can cause significant damage to your roof during a natural disaster. Regularly trimming trees and removing debris from your roof can help prevent damage.
Conclusion
Assessing roof damage after a natural disaster is crucial for the safety and integrity of your home. By following these steps and taking necessary precautions, you can ensure that your roof is in good condition and prevent further damage.
Remember to always prioritize safety and consult a professional if you are unsure about the extent of the damage. With proper assessment and repairs, your roof will withstand future natural disasters.

